A few nights ago I was just scrolling GitHub out of pure boredom. You know how it goes—one random repo after another. Then I stopped on this one: nocodb/nocodb. The tagline was simple and a bit cocky: A Free & Self-hostable Airtable Alternative. Over 65k stars. That number alone made me click.
I’ve always felt stuck between two bad options. Spreadsheets (Google Sheets, Excel) are easy for people who aren’t technical, but they turn into a mess the moment the data gets even a little complicated. Real databases are powerful, but most of the time you’re stuck with a terminal or some stiff admin panel that nobody on the team wants to touch. NocoDB looked like it was trying to sit right in the middle of that.
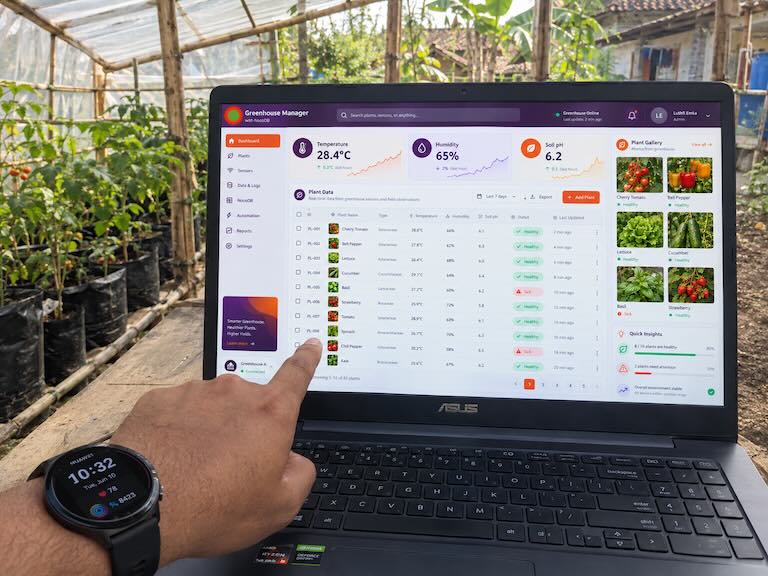
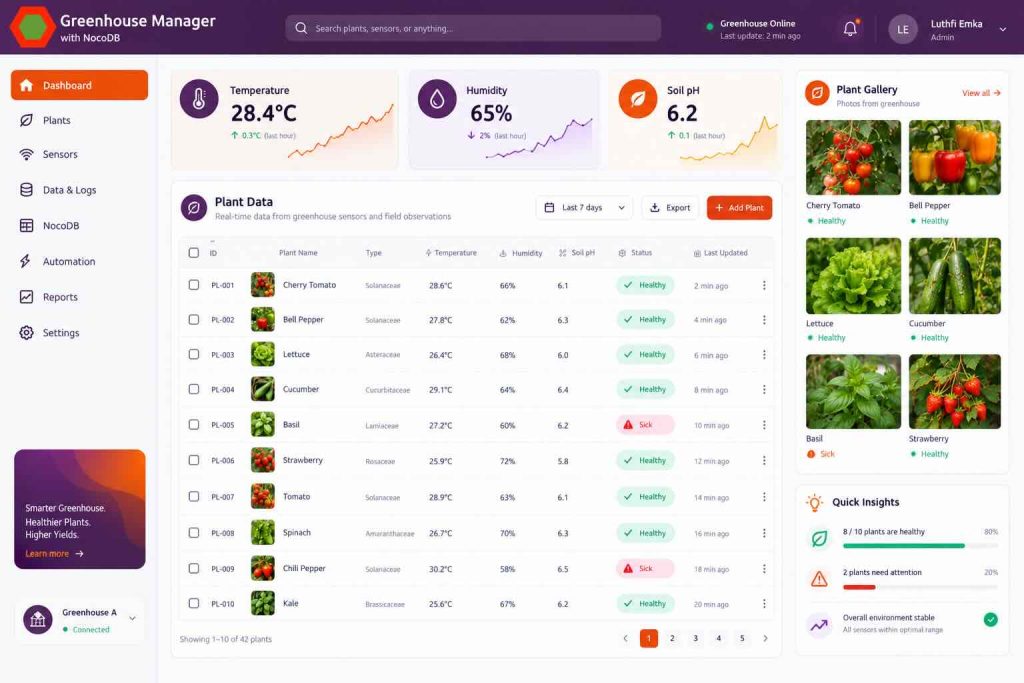
So I decided to actually try it properly. Not just read the docs and move on. I installed it, poked around the settings, and built something small but real: a simple app to track plants in a little greenhouse. Nothing fancy, but enough to test the main features.
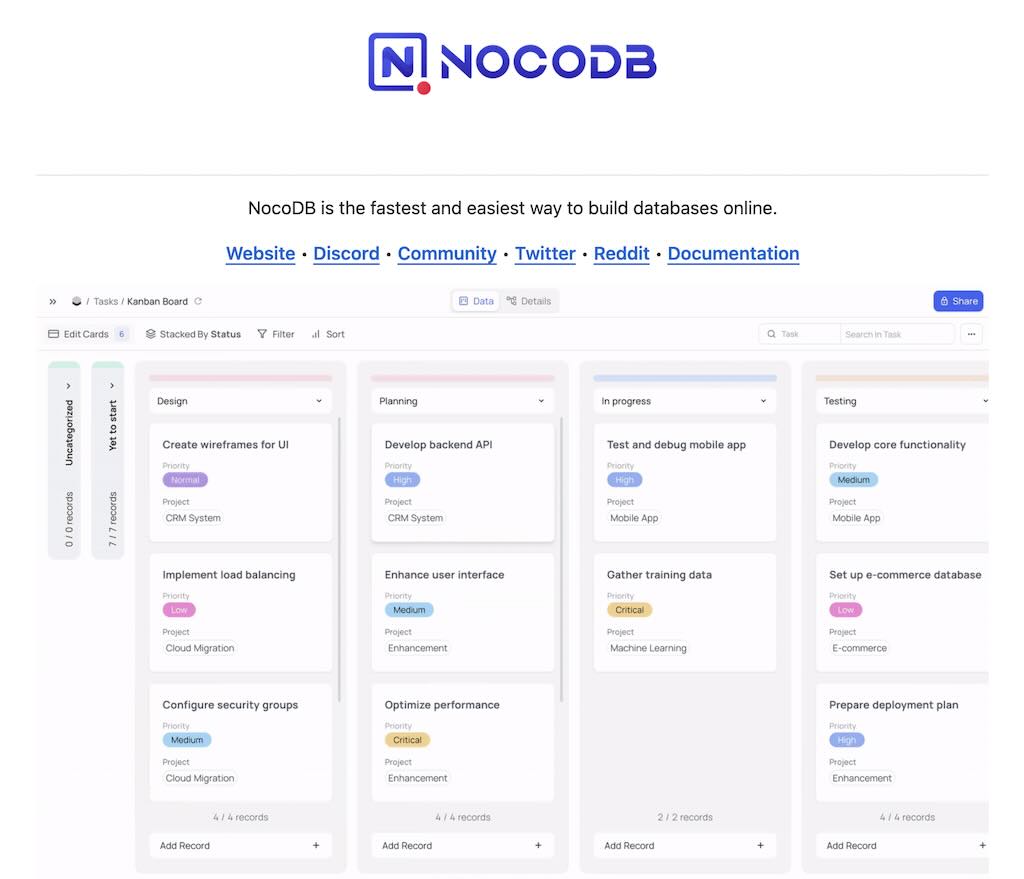
Opening the README
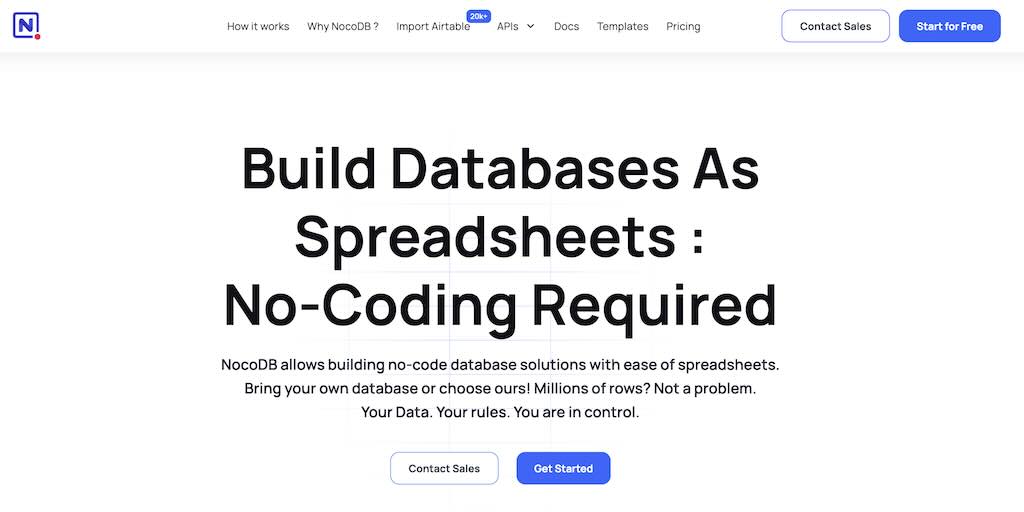
I opened the repo and actually read the README for once. What stuck with me was their basic idea: a lot of small and medium businesses still live inside spreadsheets even though databases are clearly better, mainly because normal databases scare non-engineers. NocoDB wants to close that gap.
It can talk to PostgreSQL, MySQL, SQLite, SQL Server, and you can even point it at an existing database. That means you keep your data. No more getting locked into some SaaS that suddenly raises prices or changes the rules. That alone sold me.
The feature list looked pretty complete for an open-source project. Grid, Gallery, Form, Kanban, Calendar, Timeline, Gantt. Field types include the usual suspects plus Formulas, Lookups, Rollups, Links, Attachments. And it automatically generates a REST API. Nice for quick internal tools.
Setup Was Easy
I went in expecting the usual self-hosted pain. Instead it was almost too smooth.
Fastest way was just Docker:
docker run -d \
  --name noco \
  -v "$(pwd)"/nocodb:/usr/app/data/ \
  -p 8080:8080 \
  nocodb/nocodb:latest
Don’t forget the volume mount or you’ll lose everything when the container restarts. After that, open http://localhost:8080 and the first user you create becomes the super admin.
I also tried their official quickstart script because I wanted something closer to a real setup:
curl -fsSL https://install.nocodb.com/noco.sh | bash -s -- --quick
That one spins up NocoDB plus PostgreSQL, Redis, and the workers with docker-compose. No fighting with env vars.
Building the Greenhouse Base
After logging in I made a new Base called Greenhouse Manager. Bases are basically like Airtable projects or Notion database containers for your tables.
First table: Plants. Fields I added:
- Name (Single Line Text)
- Species (Single Line Text)
- Planting Date (Date)
- Status (Single Select: Healthy, Needs Attention, Sick)
- Bed Location (Single Line Text)
- Photo (Attachment)
- Notes (Long Text)
Adding fields felt natural. Click the +, pick the type, name it, done. No SQL required.
Then I made a Daily Logs table for the daily readings: temperature, humidity, soil pH, notes, that kind of thing.
I linked them with a Links field in Daily Logs pointing to Plants (Has Many). NocoDB automatically created the reverse link on the Plants side.
After that I played with the relational fields:
- Lookup so the plant name shows up inside the log without typing it again
- Rollup to count how many log entries each plant has
- A simple Formula:
IF({Status} = "Sick", "🚨 Needs Immediate Action", "OK")
The formula language feels like spreadsheet functions (IF, CONCAT, DATETIME_DIFF, etc.), which is nice when the thing underneath is a proper database.
Views for People Who Don’t Want to Touch the Database
Once the tables were set I made a few views:
- Grid View filtered and sorted to show only Sick plants by default
- Gallery View using the Photo field as the main image—basically a visual catalog
- Form View for “Daily Log Input”. I hid a bunch of admin fields and put a password on it so the people who water the plants can just open the link on their phone and submit readings
- Kanban grouped by Status so you can see the overall health at a glance
Playing with the Auto-Generated API
NocoDB gives you REST endpoints for free. Generate a token under Account Settings and pass it in the xc-token header.
Some quick tests with curl:
Get plants:
curl -X GET "http://localhost:8080/api/v1/db/data/noco/Greenhouse%20Manager/Plants?limit=10" \
  -H "xc-token: YOUR_API_TOKEN"
Create one:
curl -X POST "http://localhost:8080/api/v1/db/data/noco/Greenhouse%20Manager/Plants" \
  -H "xc-token: YOUR_API_TOKEN" \
  -H "Content-Type: application/json" \
  -d '{
    "Name": "Cherry Tomato",
    "Species": "Solanum lycopersicum",
    "Planting_Date": "2026-09-15",
    "Status": "Healthy",
    "Bed_Location": "A3"
  }'
Filter + sort:
curl -X GET "http://localhost:8080/api/v1/db/data/noco/Greenhouse%20Manager/Plants?where=(Status,eq,Sick)~and(Bed_Location,like,A%)&sort=-Planting_Date" \
  -H "xc-token: YOUR_API_TOKEN"
I also wrote a small Python helper:
import requests

BASE_URL = "http://localhost:8080/api/v1/db/data/noco/Greenhouse%20Manager"
HEADERS = {
    "xc-token": "YOUR_API_TOKEN",
    "Content-Type": "application/json"
}

def create_daily_log(plant_id, temp, humidity, soil_ph, notes=""):
    payload = {
        "Date": "2026-10-03T08:00:00.000Z",
        "Temperature_C": temp,
        "Humidity_%": humidity,
        "Soil_pH": soil_ph,
        "Notes": notes,
        "Plant": plant_id
    }
    response = requests.post(f"{BASE_URL}/Daily_Logs", json=payload, headers=HEADERS)
    return response.json()

def get_sick_plants():
    params = {
        "where": "(Status,eq,Sick)",
        "limit": 50
    }
    response = requests.get(f"{BASE_URL}/Plants", headers=HEADERS, params=params)
    return response.json().get("list", [])

print(get_sick_plants())
And the official Node SDK works fine too:
import { Api } from 'nocodb-sdk';

const api = new Api({
  baseURL: 'http://localhost:8080',
  headers: {
    'xc-token': 'YOUR_API_TOKEN'
  }
});

async function main() {
  const plants = await api.dbTableRow.list('noco', 'Greenhouse Manager', 'Plants', {
    where: '(Status,eq,Healthy)',
    limit: 20
  });

  console.log(plants.list);

  const newPlant = await api.dbTableRow.create('noco', 'Greenhouse Manager', 'Plants', {
    Name: 'Cayenne Pepper',
    Status: 'Healthy',
    Bed_Location: 'B2'
  });

  console.log(newPlant);
}

main();
Having the API ready means you can point something like an ESP32 + DHT22 at it and just POST temperature and humidity readings without building a whole backend.
Other Stuff That Stood Out
A few more things I liked while poking around:
- Webhooks — I set one on Daily Logs so Discord gets a message if temperature goes over 35°C
- Password-protected views for sharing forms with people outside the main workspace
- CSV import that actually worked cleanly
- ERD view that draws the relationships for you
- Snapshots so you can experiment without fear
- Connecting an existing PostgreSQL database and instantly getting a usable UI on top of it
Final Thoughts
What started as late-night GitHub scrolling turned into a tool I actually want to use for internal apps and quick prototypes.
The strong points for me:
- Spreadsheet-style interface that normal people can understand
- Real relational database underneath
- Instant REST API
- You own the data because it’s self-hosted
Things that could be better:
- API docs are a bit scattered across v1/v2/v3
- Some of the more advanced UI and workflow features sit behind the paid plans
Overall it feels like a solid middle ground: give the operations team something they can actually use, keep clean programmatic access for yourself, and don’t lose control of the data. The Greenhouse Manager setup is a good starting point. Next I’m thinking of wiring real sensors and tightening the permission roles a bit more.
NocoDB Github page: https://github.com/nocodb/nocodb
NocoDB Official website: https://nocodb.com