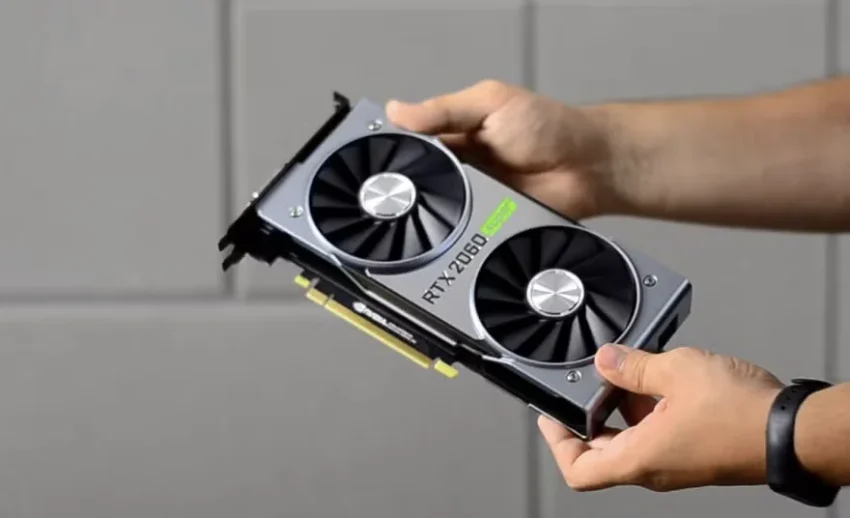
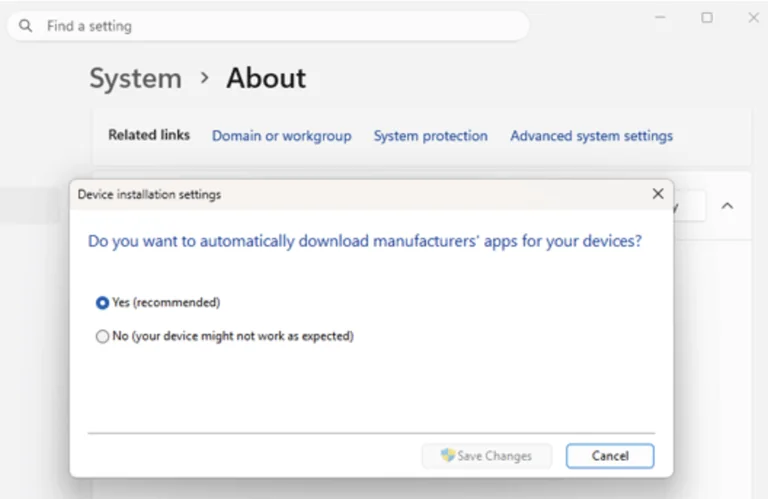
When you are first getting into PC building or just upgrading your setup, the most common piece of advice you’ll hear is to simply let the operating system handle the boring stuff. “Just plug your monitor into the graphics card, boot up Windows 11, and let Windows Update figure out the drivers,” people say. I’ve tried this approach. Actually, for a long time, I wanted to believe it was the best way. It’s certainly the easiest. You sit back, watch the screen flicker once or twice, and assume Microsoft has blessed your rig with the optimal code to make your AMD or NVIDIA card sing. And honestly, it usually works—for about a week. Then, right in the middle of something important, your screen goes black, your second monitor stops recognizing a signal, and you realize Windows just uninstalled your graphics driver entirely or stealthily downgraded it to a generic version from two years ago.
Personally, my experience has taught me that relying on Windows to manage your GPU drivers is a trap for anyone who wants to do more than just browse the web. It’s the default option, sure, but I’ve found that taking manual control over your driver installation is the absolute best move for a beginner who wants to avoid hitting a frustrating wall later. Yes, it takes a little more effort—a conscious investment of about fifteen minutes of your time—but it is infinitely more flexible. When you understand why your drivers are disappearing and how to lock them down manually, you stop feeling like you are at the mercy of random background updates. It sets a baseline of stability that gives you the confidence to actually use your hardware to its full potential.
The Magic of Complete Driver Control
If you’ve ever woken up to find your AMD or NVIDIA drivers seemingly uninstalled out of nowhere, you aren’t crazy. There are a few very specific reasons this happens. Sometimes, Windows Update decides the driver you installed isn’t “certified” enough by their specific database, so it overwrites it with an older, supposed “safe” version. Sometimes, if you tried to update your driver without clearing the old one, Windows panics at the conflicting files and just removes the device entirely. I’ve also seen antivirus programs quarantine drivers downloaded from sketchy third-party sites, or system restore points aggressively rolling back the registry, leaving your graphics card functionally stranded.
Taking manual control—which means wiping the slate clean and installing only the official packages directly from the manufacturer—gives you the one thing you desperately need in PC projects: predictability. Let’s look at how this foundational step makes a massive difference across a few concrete projects, from the simple to the surprisingly complex:
1. The High-Refresh-Rate Esports Setup
Let’s say your first project is just getting a buttery-smooth 144Hz or 240Hz experience in games like Valorant or Apex Legends. If Windows silently downgrades your driver in the background, you might suddenly experience micro-stutters or find that your control panel is missing, locking your monitor at 60Hz. By manually controlling your drivers, you ensure that the specific optimizations for your favorite games remain exactly as you left them.
2. The First Video Editing Workflow
When you start editing videos in Premiere Pro or DaVinci Resolve, you rely heavily on hardware acceleration. Your GPU does the heavy lifting for timeline playback and final rendering. I’ve had projects crash at 99% during export because Windows decided my NVIDIA Studio driver had a digital signature issue and temporarily disabled the device. Locking down your official drivers ensures your editing software always has a clean line of communication to the GPU.
3. 3D Modeling and Rendering in Blender
As your skills grow, you might want to try 3D rendering. Blender relies on specific APIs (like CUDA or OptiX for NVIDIA, and HIP for AMD). If your PC has automatically removed your driver to resolve a phantom conflict, Blender simply won’t see your graphics card. You’ll be stuck rendering on your CPU, turning a 10-minute render into a 3-hour waiting game. Knowing your driver is the exact, official version keeps your creative pipeline flowing.
4. Setting up a Dual-PC Streaming Stream
Streaming via OBS is a fantastic project, but it requires rock-solid hardware encoding (NVENC for NVIDIA or AMF for AMD). If a background system restore or a botched auto-update messes with the driver’s registry keys, your stream will drop frames or fail to start the encoder entirely. Manually installing drivers guarantees the encoder libraries are exactly where OBS expects them to be.
5. Running Local AI Models
This is where you really step into intermediate territory. If you want to run Stable Diffusion to generate AI art locally, you are dealing with very strict driver requirements. These programs often look for specific toolkit versions. If Windows decides to “helpfully” uninstall your current driver because it thinks a basic display driver is sufficient, your AI setup will completely break. Having manual control here isn’t just nice; it’s mandatory.
Surviving Heavy Workloads (And Avoiding Ghost Hardware Issues)
When you start pushing your system with the kind of projects mentioned above, you are going to encounter stress tests that expose any underlying weaknesses in your PC. This is where the manual method proves its worth over the automatic “let Windows do it” approach.
Here is my honest take: the automatic method is great right up until it isn’t. When a game crashes or a render fails, you need to know exactly what the problem is. If Windows is managing your drivers, a crash could be a hardware failure, an overheating issue, or just Windows quietly trying to install a driver update while you were rendering a 4K video. It introduces a massive unknown variable.
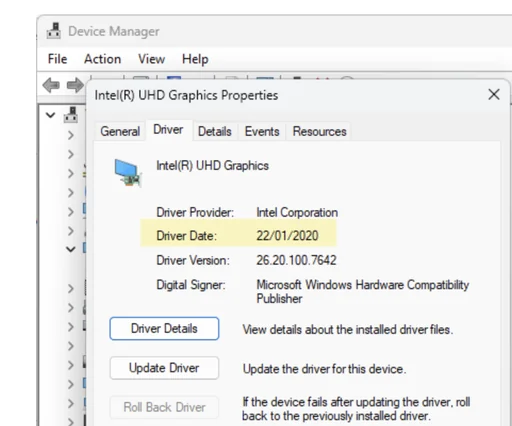
If you are experiencing the disappearing driver issue right now, the first thing I always do is check the “Driver Date” in the Device Manager. If you right-click your display adapter, hit Properties, and check the Driver tab, you can see exactly when the current driver was installed. If that date is from yesterday, but you haven’t touched your drivers in months, congratulations: Windows Update is the culprit.
But sometimes, the issue isn’t software at all. I’ve spent hours troubleshooting software, running registry cleaners, and pulling my hair out, only to discover that the driver kept uninstalling because the graphics card was physically sagging or slightly loose in the PCIe slot. If the motherboard momentarily loses connection with the GPU, Windows assumes the hardware is gone and unloads the driver to prevent a blue screen. If your driver keeps vanishing, completely power down your PC, unplug it, and physically unseat and reseat your graphics card. Make sure the power cables are clicked in tight. It’s a physical reality check that software auto-detect tools will never be able to perform for you.
Once you know the hardware is solid, the ultimate fix is a completely clean slate. The temptation is to just download the latest driver and run the installer over the old one. Don’t do it. Windows 11 hates overlapping driver instances. Personally, I always use a dedicated cleanup tool first. AMD provides an excellent official “AMD Cleanup Utility,” and for NVIDIA (or AMD), the enthusiast community standard is Display Driver Uninstaller (DDU). Booting into Safe Mode, running the cleanup tool to obliterate every trace of the old driver, and then installing a freshly downloaded package from the official AMD or NVIDIA website (never a third-party driver repository) is the gold standard.
Yes, doing a clean wipe and manual install takes a bit of effort. But compare that time to the alternative: buying a completely new graphics card because you mistakenly thought your current one was dying, when in reality, it was just a corrupted digital signature causing Windows to reject the device. You are saving hundreds of dollars just by applying a little manual software hygiene.
When Should You Just Let Windows Do Its Thing?
Now, I want to be completely straight with you—I don’t recommend this deep-dive manual process for literally every computer on earth. There are times when the “lazy” alternative is actually the correct choice.
If you are building a basic office PC for your parents, or setting up a cheap laptop that will only ever be used for checking emails, watching YouTube, and typing Word documents, just let Windows Update handle the graphics drivers. In those low-stakes environments, the generic or slightly older drivers that Microsoft pushes through their update servers are perfectly fine. They are tested for basic display output and power efficiency.
In a purely administrative machine, the risk of a driver conflict ruining a spreadsheet is practically zero. Managing drivers manually on a machine like that is just creating busywork for yourself. Save your energy and your troubleshooting skills for the rig that actually has to sweat.
At the end of the day, your PC is your workspace, your arcade, and your creative studio. Letting an automated background process dictate how your most expensive component—the graphics card—operates is a recipe for sudden, unexplained headaches.
By taking the time to verify your physical connections, using a proper cleanup utility, and downloading your drivers strictly from the official manufacturer’s website, you are building a foundation of reliability. It costs you absolutely nothing but a few minutes of your time, but the payoff is a machine that feels significantly more stable, responsive, and ready to handle whatever hobby you decide to throw at it next. Keep it clean, keep it official, and you won’t have to worry about your drivers mysteriously vanishing into the digital void ever again.